


Samsung Pay is an easy way to make payments. You just need to wave your Samsung device over the NFC or card reader on the payment terminal and you are done. This is not only going cashless but also cardless. Now that Samsung’s Galaxy Note 8 is already out some users have been wondering how to enable Samsung Pay on Galaxy Note 8. If you are wondering the same, keep reading.
Read also- Top 5 Reasons To Buy Galaxy Note 8
Steps to enable Samsung Pay on Galaxy Note 8
All Samsung Galaxy users get the facility of Samsung Pay by default. In order to enable Samsung Pay on Galaxy Note 8, you need to first click on the icon of Samsung Pay.
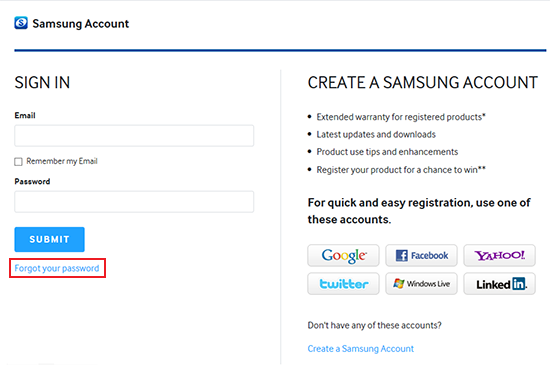
- You need to register for Samsung account. If you have one already then tap on Sign in and enter your id and password.
- New users need to tap on Sign up to begin the registration process. You will have to enter your email id and a choice password.
- Follow the instructions displayed on the screen to create the Samsung account.
- Next, you will have to register your PIN or fingerprint for payment authentication. Samsung advises people to use fingerprint for the authentication as it is one of the most secure ways to indicate that you are the right person who is using the service of Samsung Pay.
- Registering for the fingerprint is an easy process. You will have to tap Start on Samsung Pay’s main page. Then tap on Use Fingerprint to begin the registration process and follow the screen instructions to complete the process.
- Users who wish to use PIN as a form of authentication would have to tap on Skip and Use Samsung Pay PIN. Select a choice of 4 digit PIN which you will use to authenticate your payments.
- The next step to enable Samsung Pay on Galaxy Note 8 is to add your card to Samsung Pay. It is just a one-time activity and you can add up to 10 debit or credit cards.
- Tap on add debit or credit card. The camera of your Note 8 will open within the Samsung Pay app. Place your card below the camera to read the details automatically. However, your name, address, and verification code need to be entered manually. You can also enter the card details manually.
- Follow the instructions given on the screen and then to complete the registration of the card successfully enter the OTP – and you are done.
- You are ready to shop using your device.
Once you enable Samsung Pay on Galaxy Note 8 you can use your device to make payments. Here is how you need to go about it:
- When you swipe up from the bottom of your display in sleep mode or active home screen of your device it will launch the Samsung Pay.
- You will get the list of your favorite cards from which you need to select one that you wish to pay for your purchase.
- Then identify by using your fingerprint or PIN as you had registered earlier.
- Now hold the back of your phone on magnetic strip reader or NFC reader and you will notice a blue animation pulsing out of your screen.
- Sometimes if you are using a debit card you will have to enter your PIN associated with the card.
- The notifications of the payment made will be available on the Samsung Pay app.
Samsung Pay is quite secure and protected by Samsung’s Knox real-time hacking surveillance and rooting prevention. The Samsung’s Pay system doesn’t save card details of the users neither are the details saved on the server. The card payments are done by the creation of a token number which swaps your card details. The token gets stored in a safe element chip on your Note 8 device and when the payment is initiated the token is sent to the trader. The trader or merchant doesn’t get direct access to your card. ARM TrustZone provides additional security to your details from any illicit attacks.
Enable Samsung Pay on Galaxy Note 8 and you won’t have to carry your wallet.
Read also- How To Turn On Blue Light Filter On Galaxy Note 8
