

This article was sponsored by Wondershare
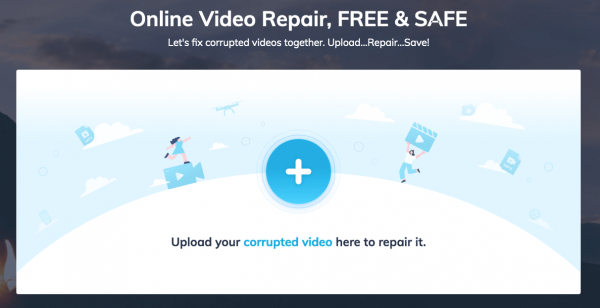
Creating a video and downloading it is not a big deal. But, sometimes when you want to watch it on your device, it cannot be played, it is sluggish, blurry, corrupt, etc. Since MP4 is not the only video file format, the issue can be related to a different format. Changing the file format or try another video media player should fix the problem. If it doesn’t work, use a video repair tool instead. What about https://recoverit.wondershare.com/online-video-repair.html
- Click the big blue ” + ” sign in the middle of the screen and choose the corrupted video from your computer. Wait until the repairing process is done.
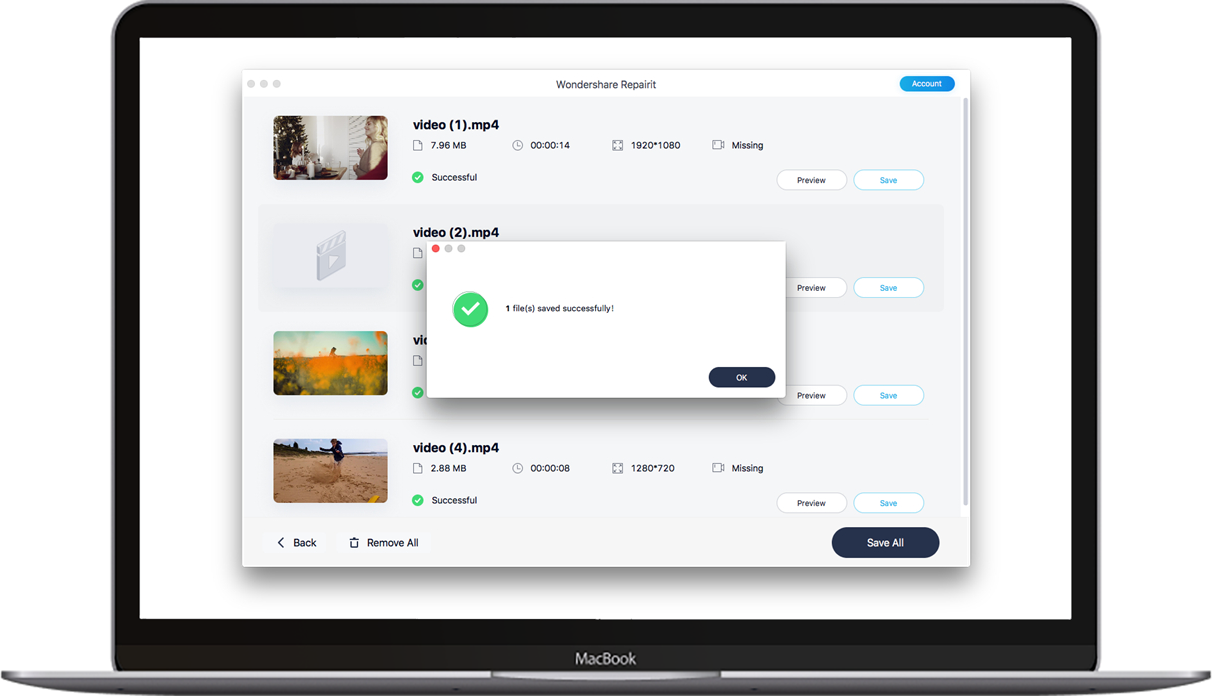
- When it finishes, you will get the message on the screen telling that the video repair succeeded. Click the Save Video button to store it on your computer.
Part 2: Three Steps To Perform Video Repair On Windows/Mac
The video repair tool is your shortcut to fix any video playback issues, including a corrupted one. You can skip the trial-error troubleshooting methods because it will straight away fix the video playback no matter what caused the issue?
Before we start, you should download and install free video repair software from Wondershare. It is available for Mac.
Step 1: Add A Corrupted Video
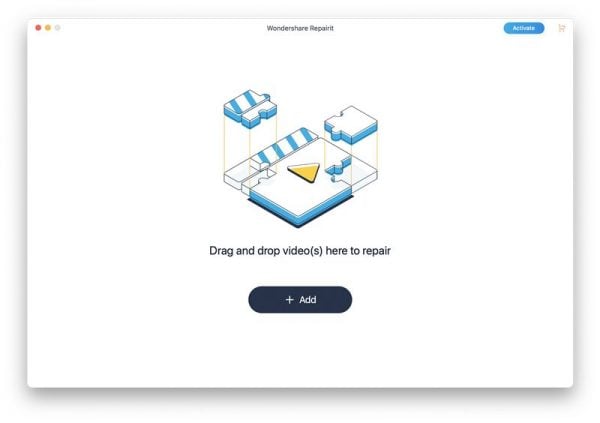
Launch Wondershare video repair software on your computer. You will see a page with a simple User Interface. Click the Add button or simply drag and drop the corrupted video you wish to fix to the middle. It is also possible to repair multiple corrupted videos at once. You can just drag all those videos to the Wondershare video repair tool.
Step 2: Repair The Video
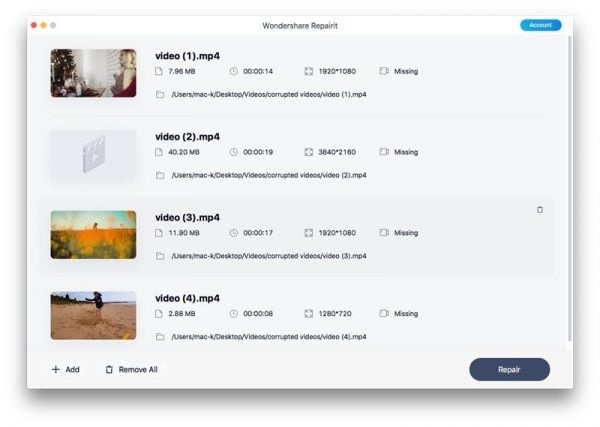
When all the damaged videos ready, click the Repair button that you can find on the bottom-right corner of the screen. It will start scanning and repairing your video in minutes.
Step 3: Save The Video

Before saving the video to your computer, you are able to preview it. If the video quality meets your expectation, click the Save button at the button of the screen. Otherwise, click Advanced Repair.
Part 3: All Video Playback Issues
Component Damage
Perhaps you want to play an old video from SD card or USB flash disk, but it refused to play. You may find an error message that said the video you want to play cannot be opened. In another case, you may be able to play the video, but in the middle of playing it stops. These video playback issues can occur for some reasons, like component damage, virus, corrupt or broken files, not supported format, Internet connection stops suddenly while downloading, etc.
Solutions:
First, you can try to use a different media player or change the video format. If it doesn’t work, try to update the media players you have to the latest version. If the issues won’t go, use the Wondershare video repair tools which are faster and save your time.
Quality Issues
The media player can play the video, but it sluggish, very slow, flickering, lags, lose its quality, and more. Nobody will enjoy watching a video in that condition, right? It is so bothering and wasting time. These are common issues when it comes to video playback.
Why does it happen?
- The Internet connection that you use to download the video could be responsible for these issues. Maybe you use a slow connection or it suddenly stops during the downloading process.
- If the video quality was lost after the editing or converting process, you may use an unreliable tool.
- If the video has malware or virus, it probably loses its quality as well.
- The media player version you use is old. When was the last time you update the media player? If you don’t remember, it is the right time to do that.
Solutions
- Switch your network to a reliable and fast Internet connection, then re-download the video.
- Update your media player to the latest version and try again. Otherwise, try another media player.
- Use a professional video repair tool like Wondershare Repairit.
Not Supported Codec Or Video Format
If the codec installed on your computer doesn’t support the video format you want to play, the chance is, it won’t play or get any errors. For example, you usually cannot play MOV video in a VLC player. The options, you convert it to a VLC compatible-format or download the MOV codec pack. However, the converting process sometimes gives you a consequence of losing video quality. Downloading the MOV codec pack takes a lot of disk space.
There are two other solutions you can try to play video without losing its quality. Use another media player or a video repair tool.
Part 4: Repair Videos of Any File Format from Any Cameras
Scenario 1: Your camera turns off when you were recording a video. You are wonder if you can play some of the parts of the video?
Scenario 2: The battery of your camera was fine, but the memory card was almost full. The video refuses to play or has low quality.
Scenario 3: The camera was fully charged, the memory card has lots of space, and you can record the video completely. However, when you try to play it on your computer, it doesn’t play.
Solutions
Method 1: Use VLC Player
If you use a VLC Player on your PC, you can try it at the first place.
- After you launch VLC Player, go to the upper menu bar and click on Tools. From a drop-down menu, choose Preferences.
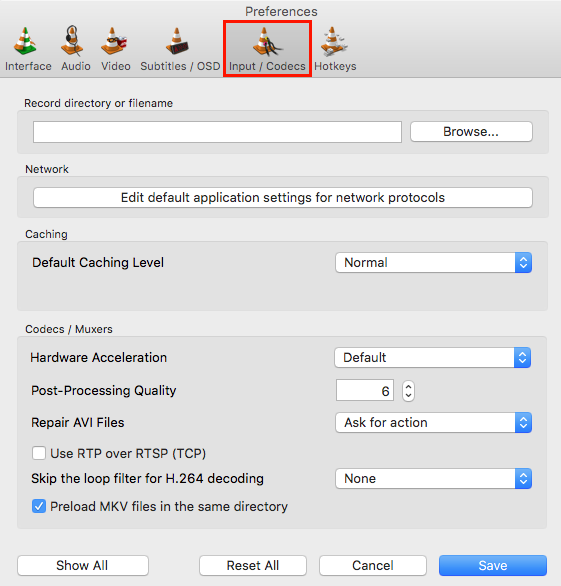
- On the new windows, choose the Input/Codecs option.
- Find the Repair/Damaged/incomplete AVI file and click the drop-down menu next to it. Then, select the Always Fix option.
- Hit the Save button.
Now, you shall be able to play the corrupted video on your device. If it doesn’t work, use a professional video repair tool.
Method 2: Use A Video Repair Tool
- Open Wondershare Reparit, click the Add button, and select the corrupted video from your computer.
- Hit the Repair button and wait until the repairing process to finish.
- Preview the repaired video and click Save to store it on your computer.
This article was sponsored by Wondershare Repairit
